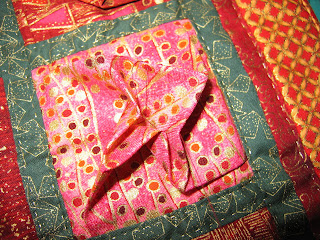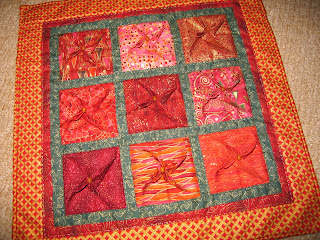
I came up with name after creating the first 3D star block and thinking it reminded me of star anise.

 For this 15 inch quilt, you will need the following:
Cutting mat, ruler and rotary cutter
9 fabrics for the 3D star blocks
3 fabrics for the borders
Quilt thread and large beads

Cut one six inch square from each of the nine fabrics choosen for the 3d star blocks.

Fold the block in half and iron only the ends of the fabric.
 The block will look like above photo once all four ends are ironed. Be careful not to iron all the way across so as not to have a crease in the star at a later stage.
Measure from the ironed fold 1-1/4 inches from to the right and place a pin.

Fold the fabric where the pin is placed back in harmonica style as shown lining up the fabric edge and bringing the ironed fold forward. This will give you a edge by the corner of the square of approximately 3/8 to 1/2-inch (see right corner of photo)


Pin these folds in place. Be sure to leave the center of the fabric loose.

Once all four folds are in place, sit the block down on an ironing pad with the four corners straight and the center mound of fabric upwards.

Here is the fun and magical bit! Just tap the fabric mound and it will flatten on its on to form a diagonal square on the folded square. This square in the center will measure approximately 1-3/8 inch.
 Iron this down flat.
 The back of your block will look like this.
 The front like this. I will refer to this portion I am holding up as the fabric square later when we create the 3D effect. This block now measures 3-1/2 inch.
 Cut 6 strips - 3-1/2 inch x 1 inch from your first border fabric (I choose green).
 Sew these strips to the blocks forming 3 rows of 3 blocks.
 Cut 4 strips of fabric - 10-1/2 inches x 1 inch from this same border fabric.
 Sew these strips between the three rows being careful to match the cross seams as shown in the previous photo. Once you remove the pins from the folded blocks, you will have give to pin the row of blocks easily to fit the strip.

Cut 2 strips - 11-1/2 inch x 1 inch from the same border fabric. These strips will be sewn along the top and bottom completing the square.
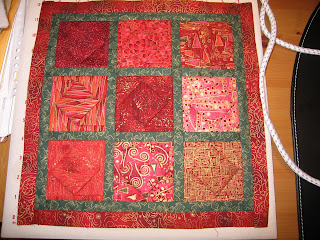 Cut 2 strips - 11-1/2 inch x 1 inch from the second border fabric. I choose a dark red. Sew these strips along the two sides.
Cut 2 strips - 12-1/2 inch x 1 inch from the same border fabric. Sew these strips along the top and bottom edge.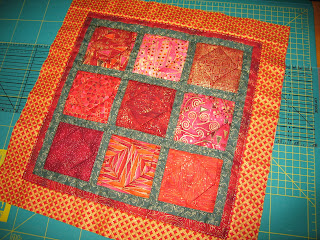
Cut 2 strips - 15-1/2 inch x 1-3/4 inch from the third border fabric. Sew these strips along the top and bottom.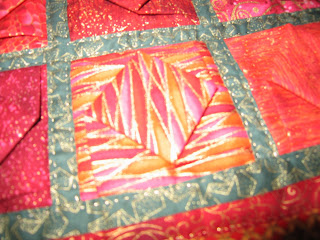

On to part two which is creating the 3D star effect.


